This is a sponsored post written by me on behalf of Cricut. All opinions are 100% mine.
Can we talk about back to school you guys? I am still not sure if the boys will be back in school in person or if we are going to be doing online virtual classes. Either way, we are preparing for the start of the school year and the boys are getting excited about the new year ahead.
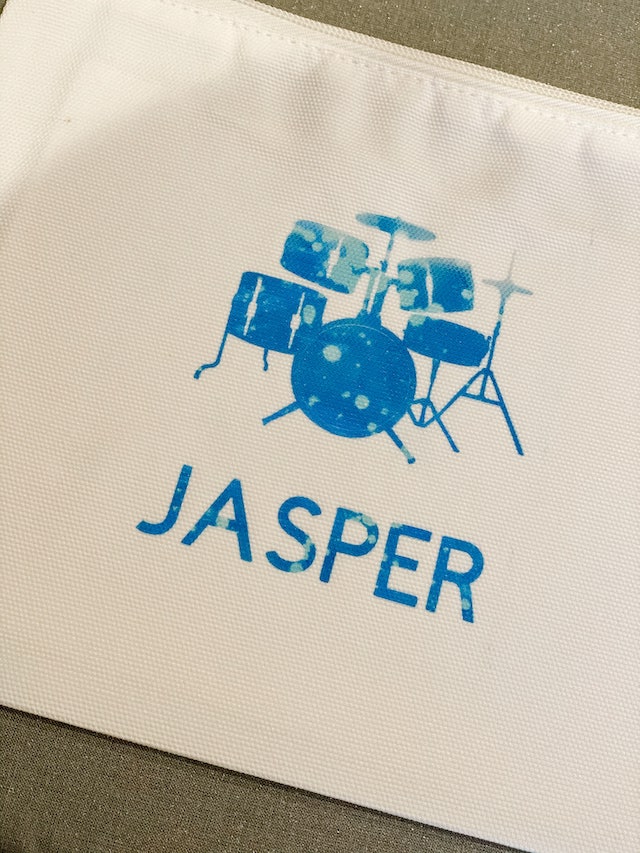
I wanted to make a couple of personalized pencils and school supply bags for them and I ended up personalizing them with my Cricut Joy, using Infusible Ink. I made both a smaller size bag for just pencils and pencil crayons, and a larger bag with their name and a cute graphic (electric guitar for my eldest, and a drum set for my youngest) for their school supplies, like scissors, tape, glue, etc.
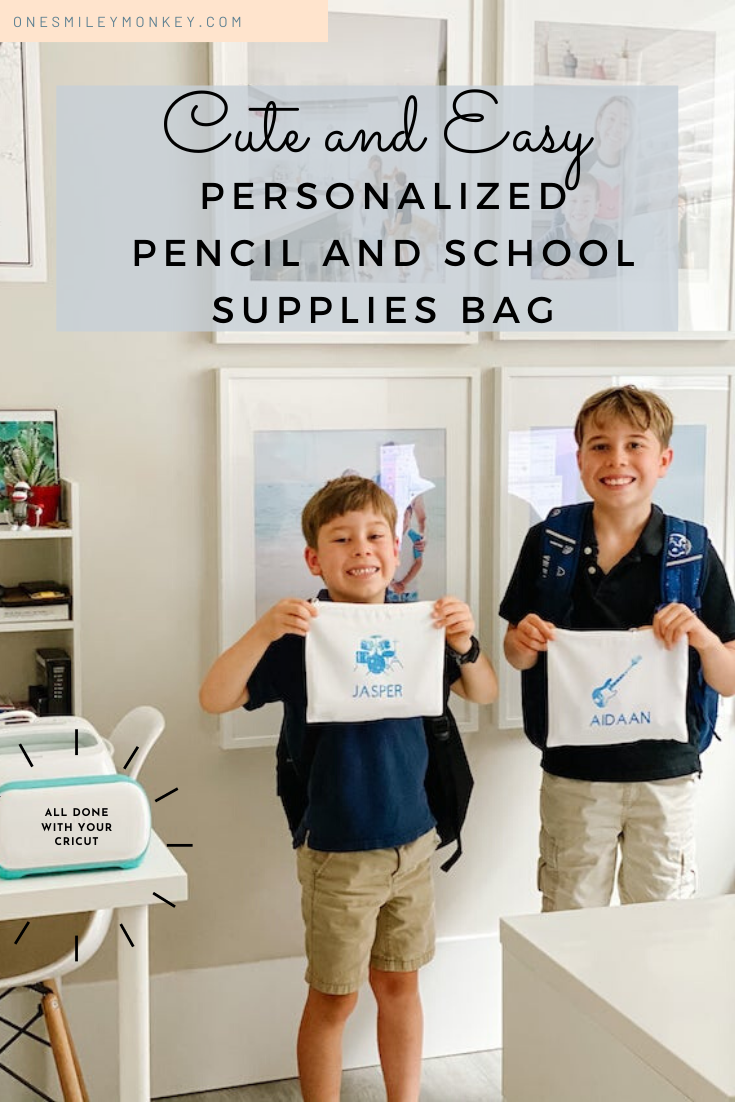
If they end up going back to school in person they will need the larger bag to carry all of their supplies, as they will most likely have to bring all of their individual supplies to school, to continue with social distancing and not sharing supplies with other students.
This was such a fun project! See below the easy to follow step by steps instructions with images, in case you have never done an Infusible Ink project before. I promise it is really easy if you follow the instructions.
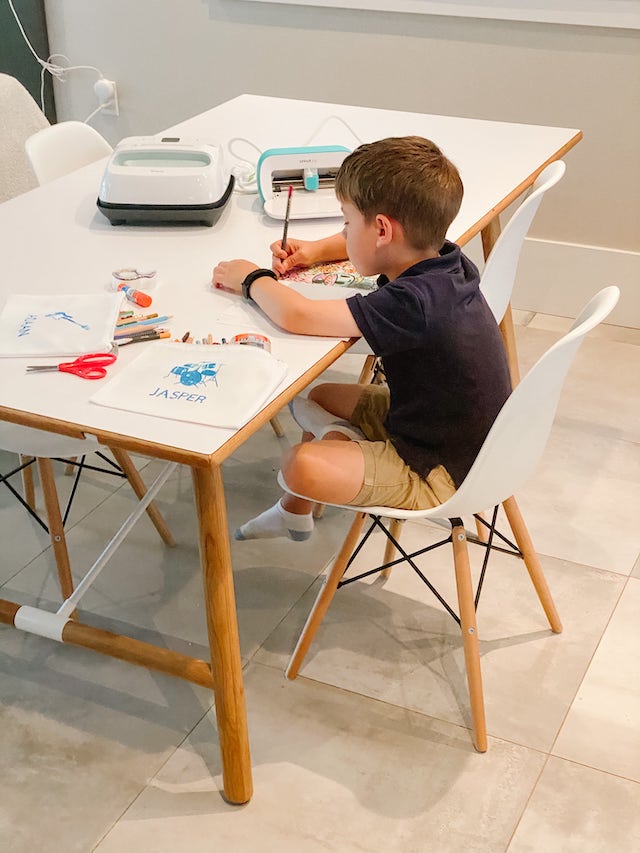
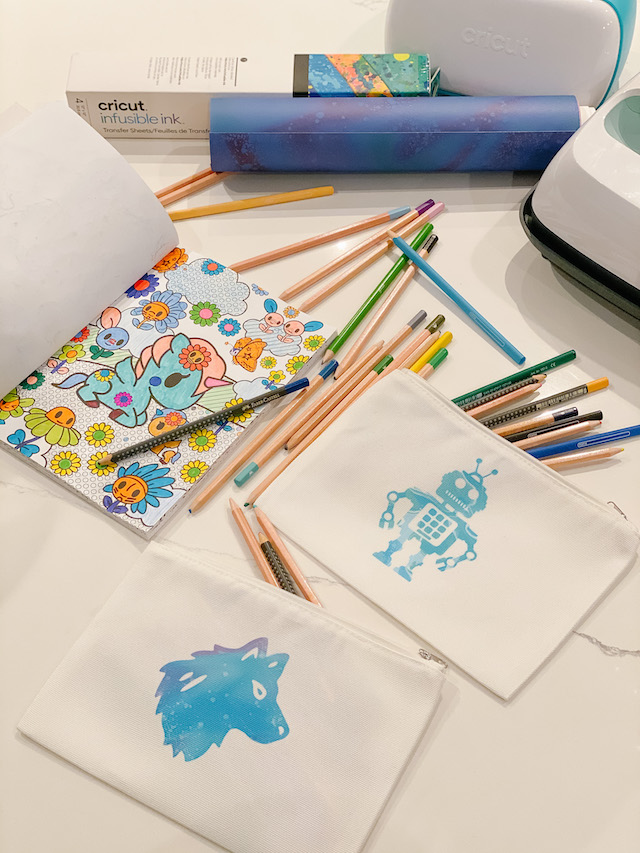
Smaller size bags
DIY Personalized Pencil and School Supply Bags
Materials:
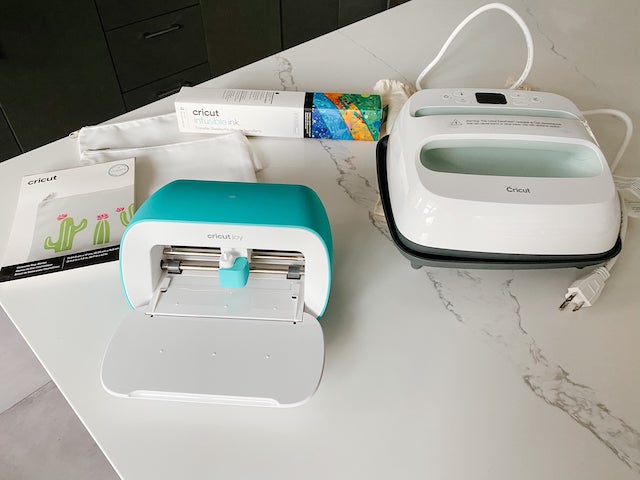
- Cricut Joy Machine
- Cricut Design app on your phone
- StandardGrip Machine Mat for Joy
- Cricut EasyPress 2,
- Cricut EasyPress Mat
- Cricut Cosmetic Bag blanks pack (compatible with Infusible Ink – use the size of your choice)
- Infusible Ink Transfer Sheet
- White cardstock
- Butcher paper (butcher paper comes in the Infusible Ink Transfer Sheet pack)
- Lint roller
- Scissors
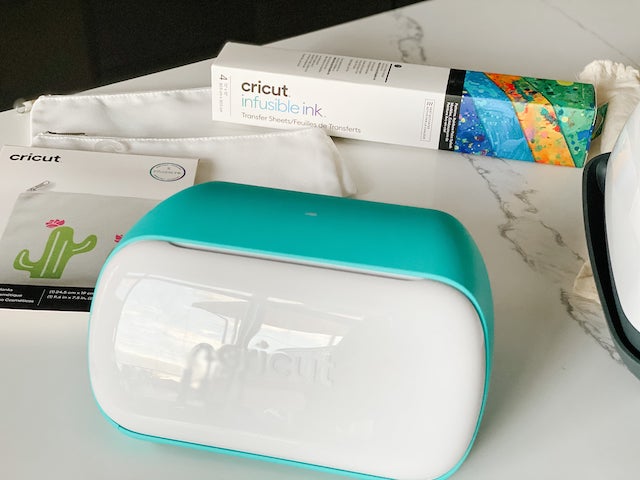
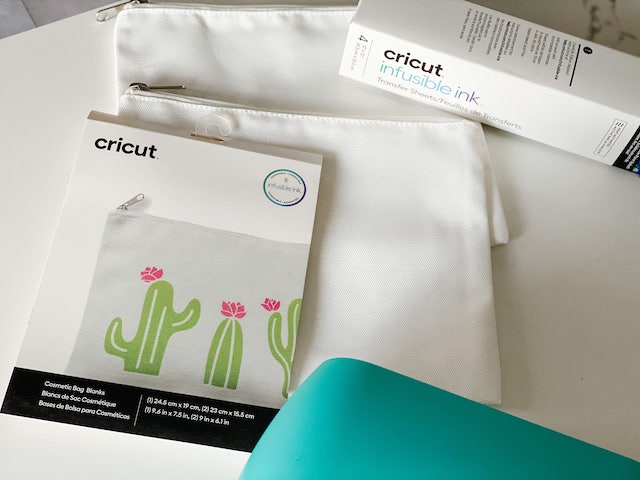
Step 1: Design & Cut
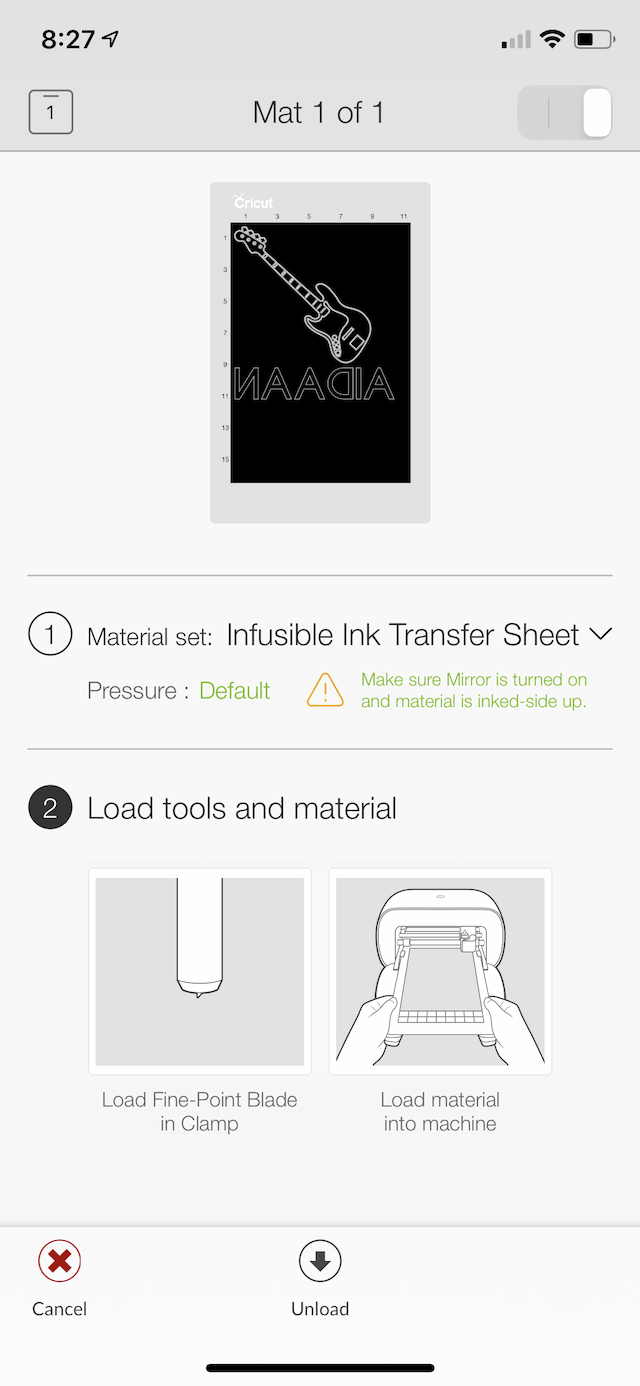
- Visit the Cricut Design App on your phone. Go to the Canvas and create your personalized design. I wrote the boy’s names and picked some images in the app for each bag. Once you are ready, ensure you have mirror ON to mirror your design when cutting, and that the design fits on your blank bag.
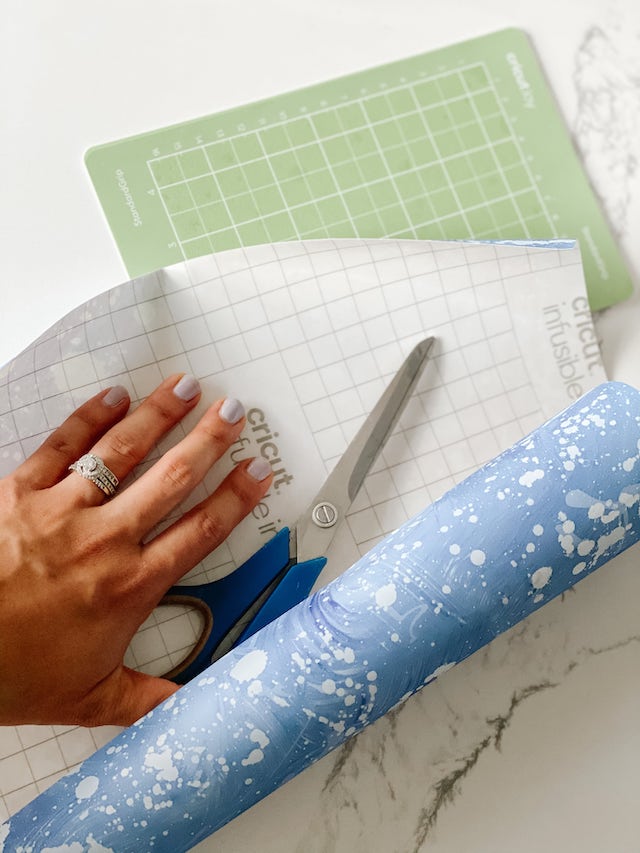
- Cut the Infusible Ink Transfer Sheet to fit your mat, be sure that your hands are dry and free of any oils or lotions before you handle the transfer sheet to avoid any colour running.
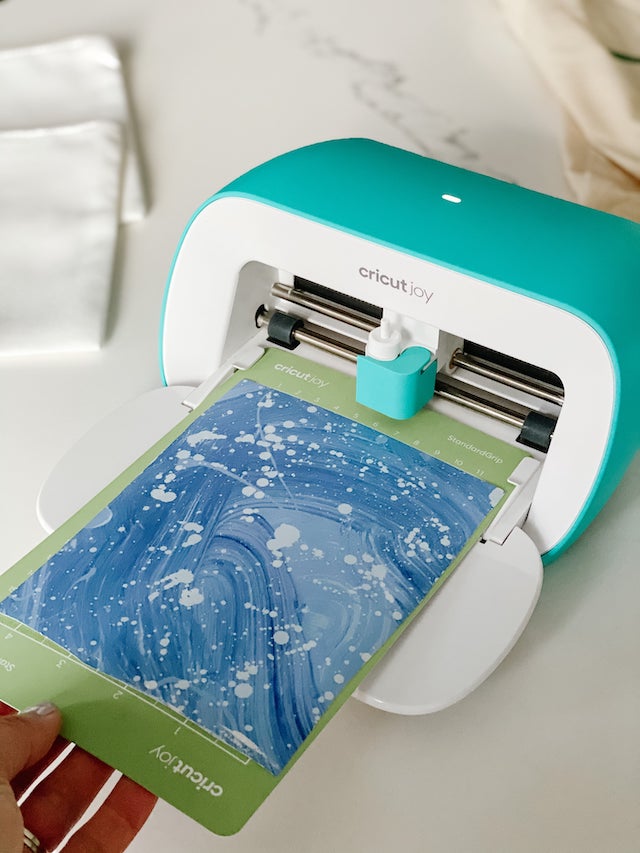
- Place Infusible Ink Transfer Sheet onto StandardGrip mat, liner side down.
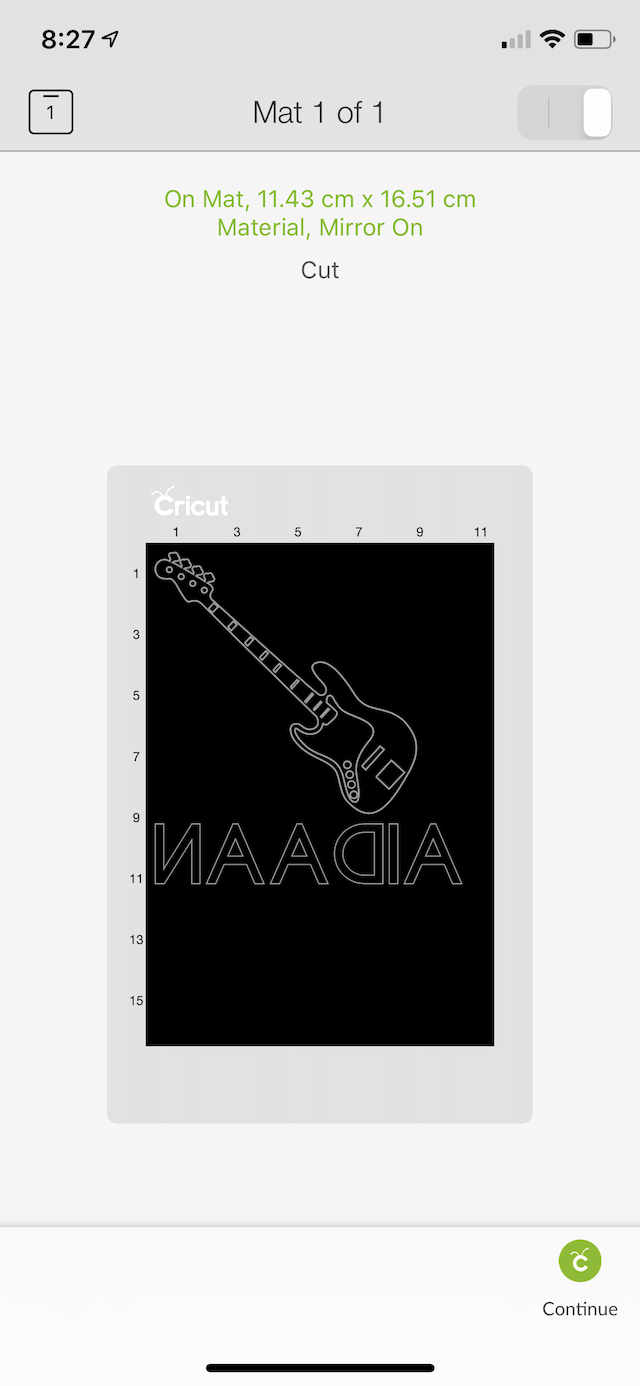
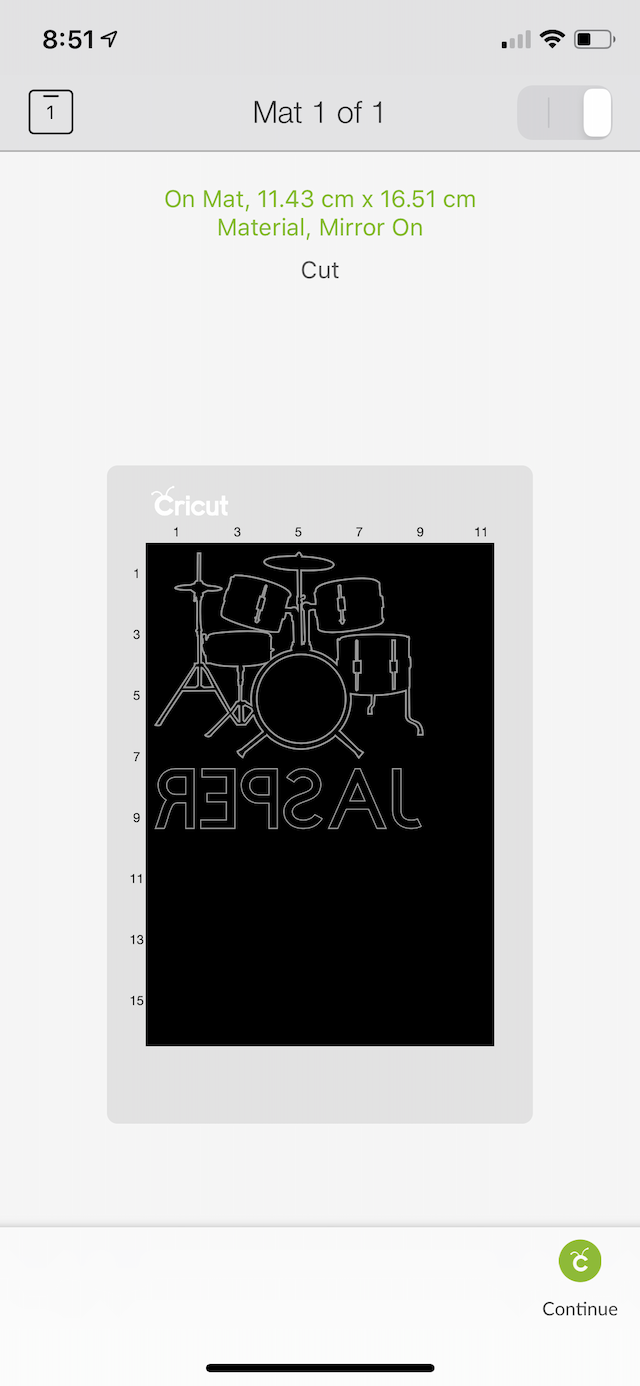
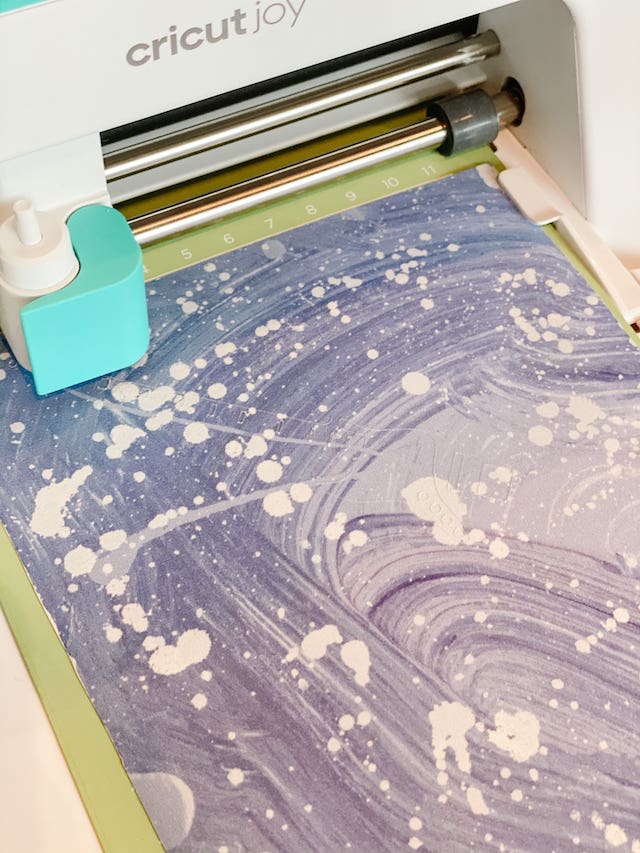
Step 2: Weed
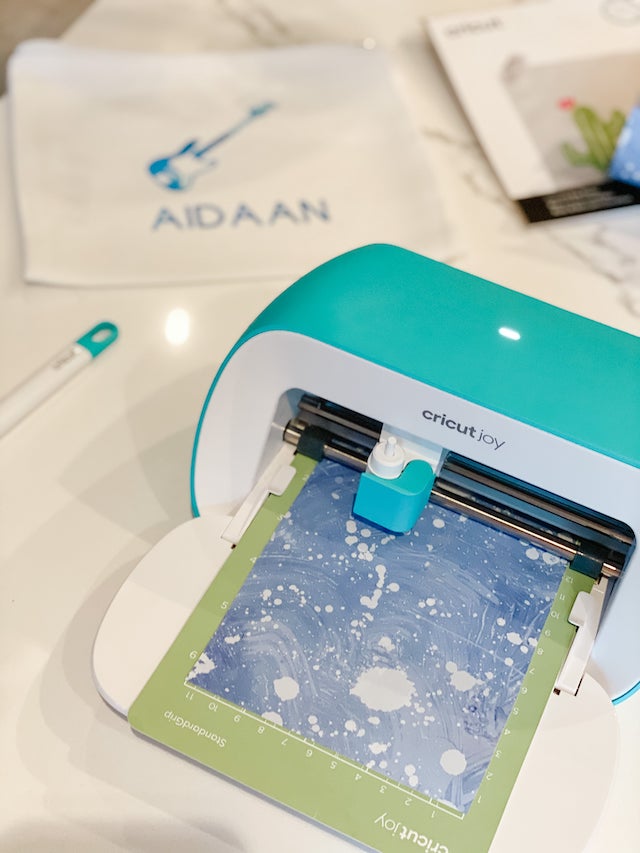
- Once the machine has cut the design onto the transfer sheet, you have to remove the design from the mat and trim away any unused area of the sheet.
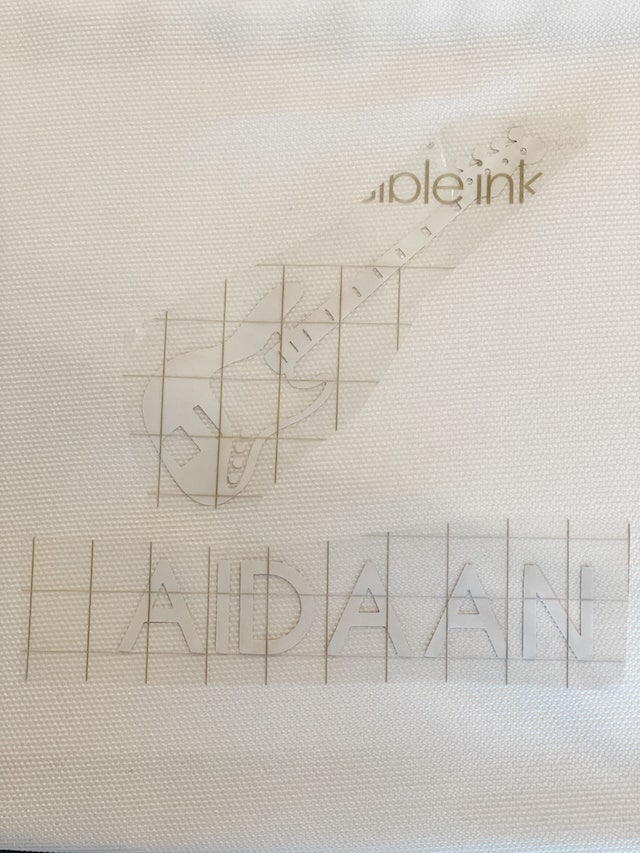
- Remove all excess paper from in and around the design, until you are left with the design only (text, image), be sure to leave the design on the liner, don’t peel the design (use tweezers if needed).
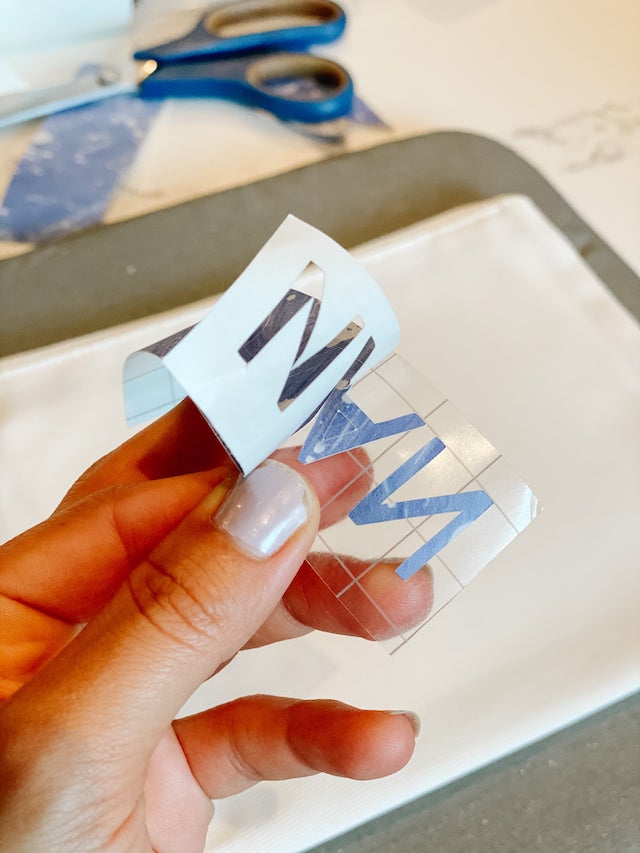
Step 3: Get the Bag Ready
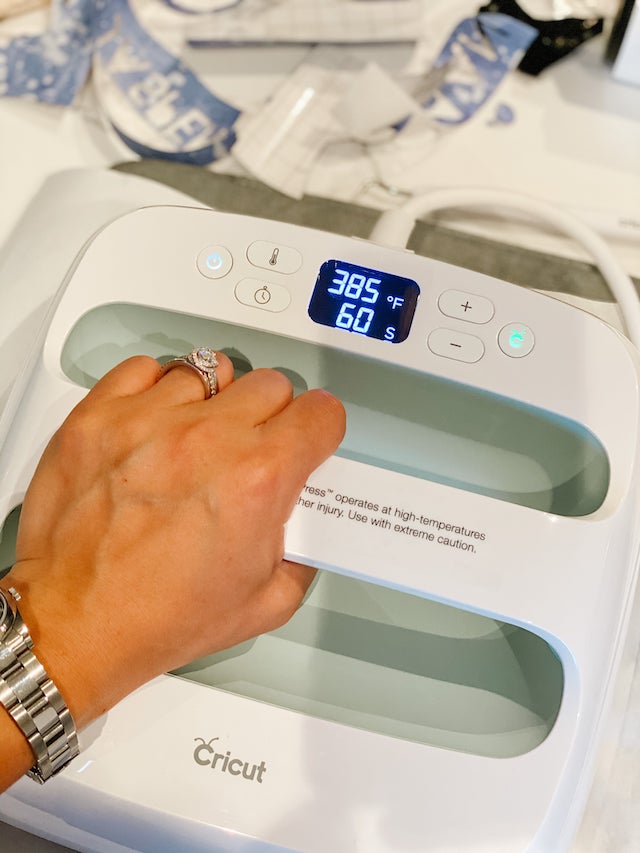
- Get the Cricut EasyPress on and ready for the transfer now. For this project, you need the temp to be 385°F (195°C).
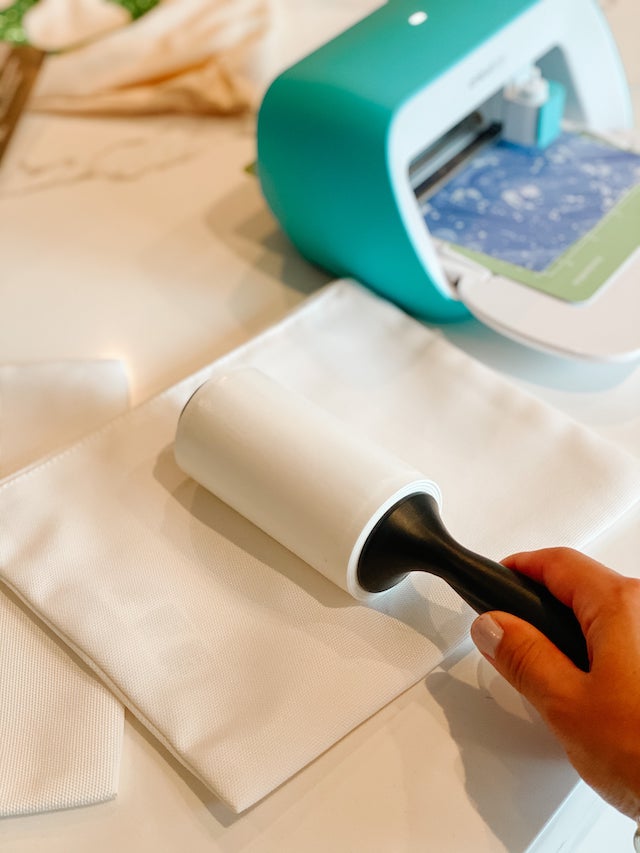
- Place the blank bag on top of Cricut EasyPress Mat.
- Use the lint roller to remove any dust or fibres on the bag (very important step, don’t skip!)
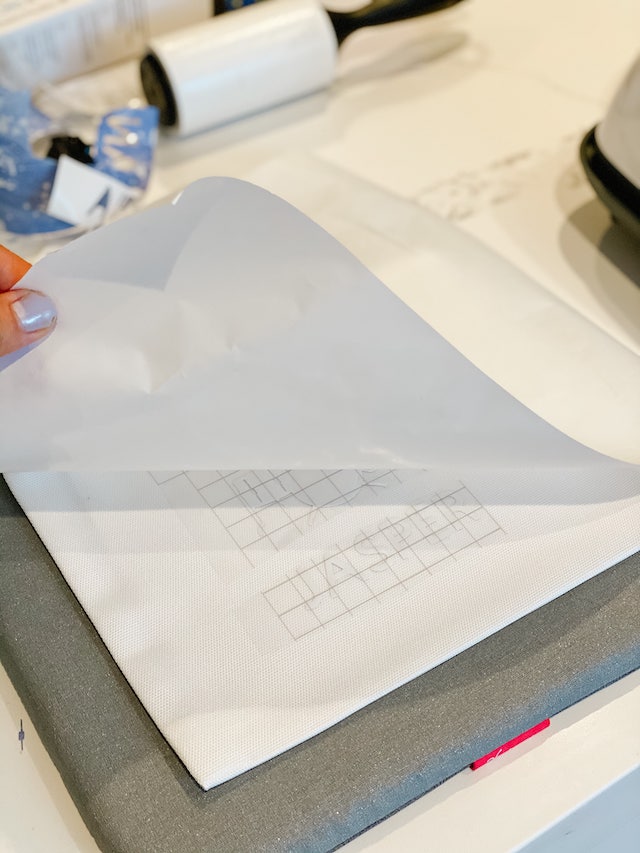
- Cover the bag with a sheet of butcher paper (it comes in the package with the Infusible Ink Transfer sheets).
- Preheat the bag to remove moisture and any wrinkles. Once the EasyPress is at 385°F (195°C), use even, light pressure for 15 seconds and remove.
- Let the bag cool down and remove butcher paper.
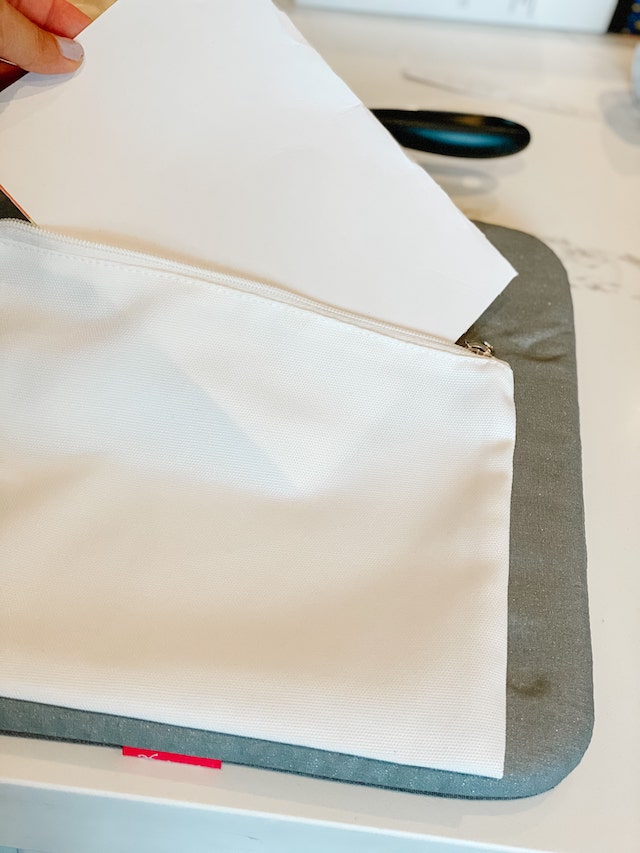
Step 4: Apply the Design
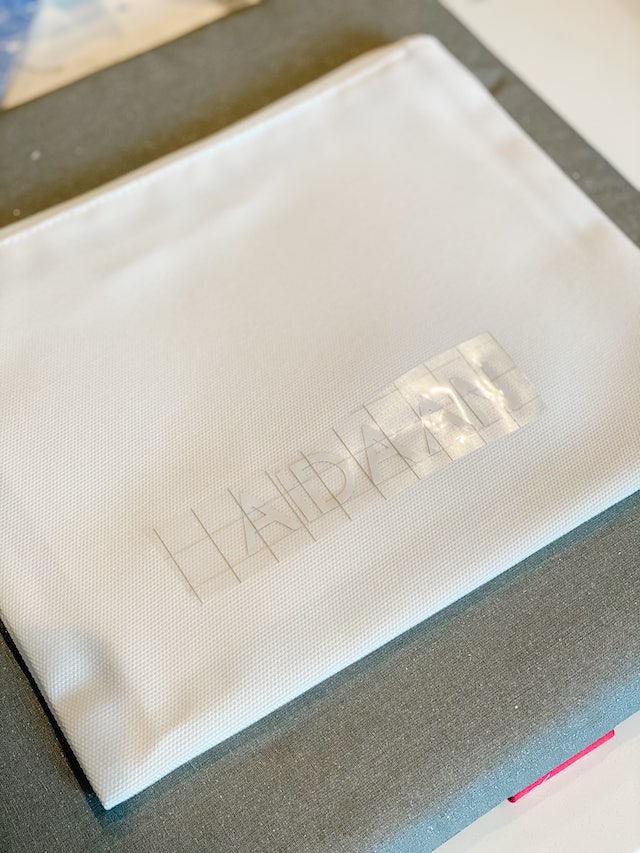
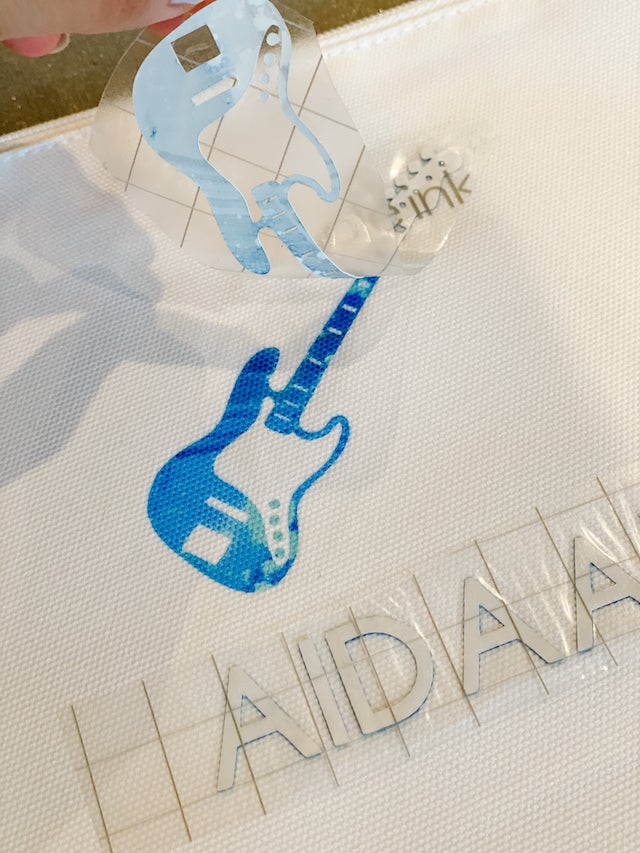
- Carefully the cut design face down on the bag, clear liner on top. Avoid reapplying.
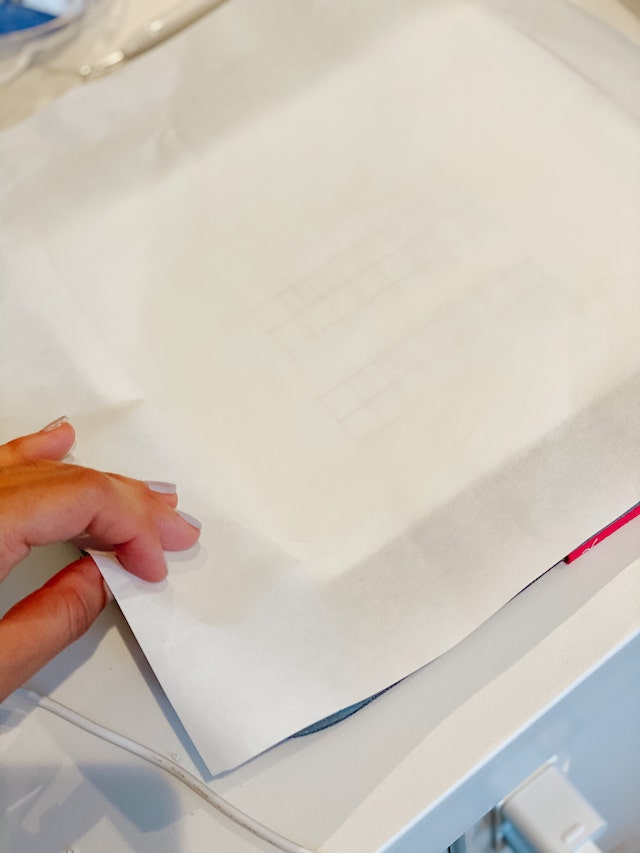
- Cover the bag with the butcher paper.
- Press at 385°F (195°C) for 60 seconds using light pressure. Avoid seams or zippers when placing Cricut EasyPress to ensure even application.
- After 60 seconds slowly lift the EasyPress, then slowly remove the butcher paper and the liner while still warm, should be very easy to peel up.
- Discard the butcher paper, it isn’t a good idea to reuse it if you see any colour on the paper as this will transfer to any other project.
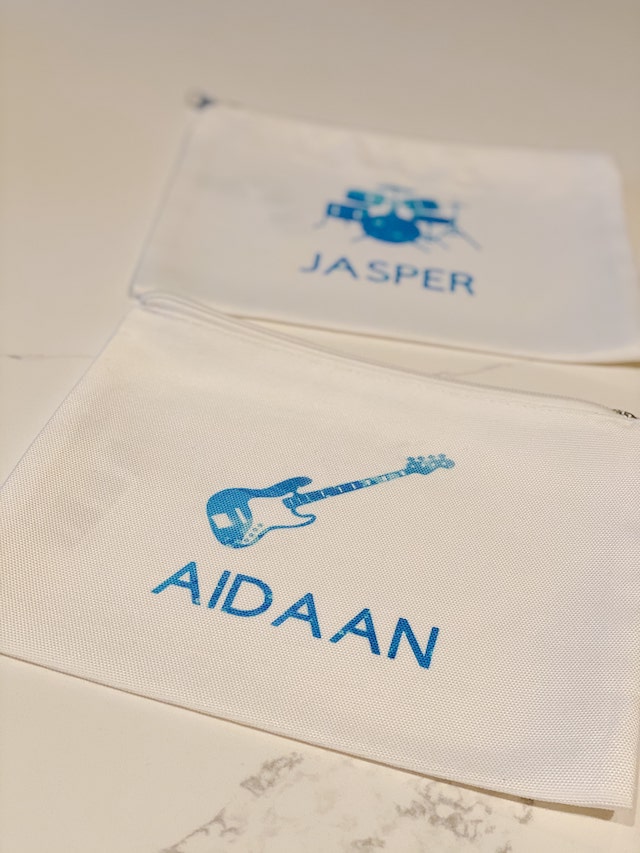
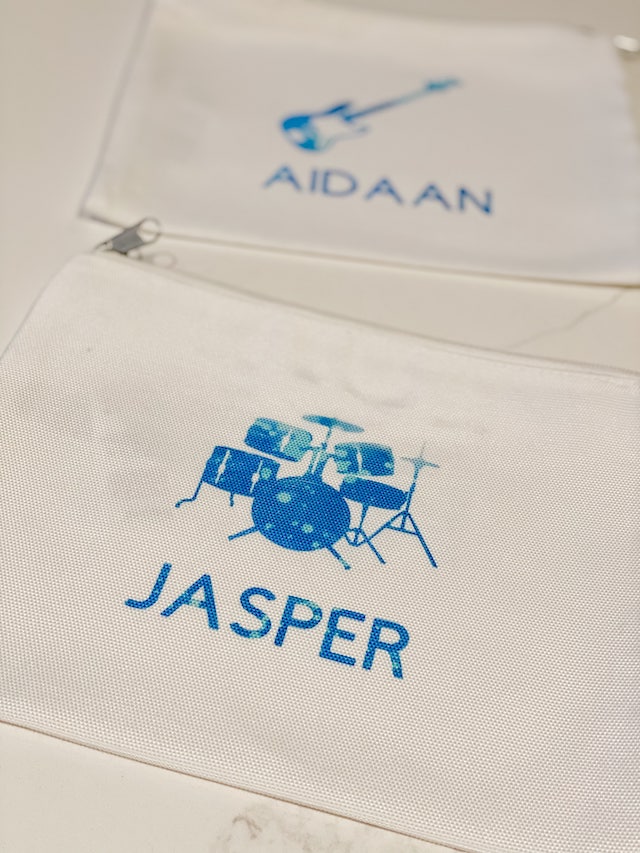
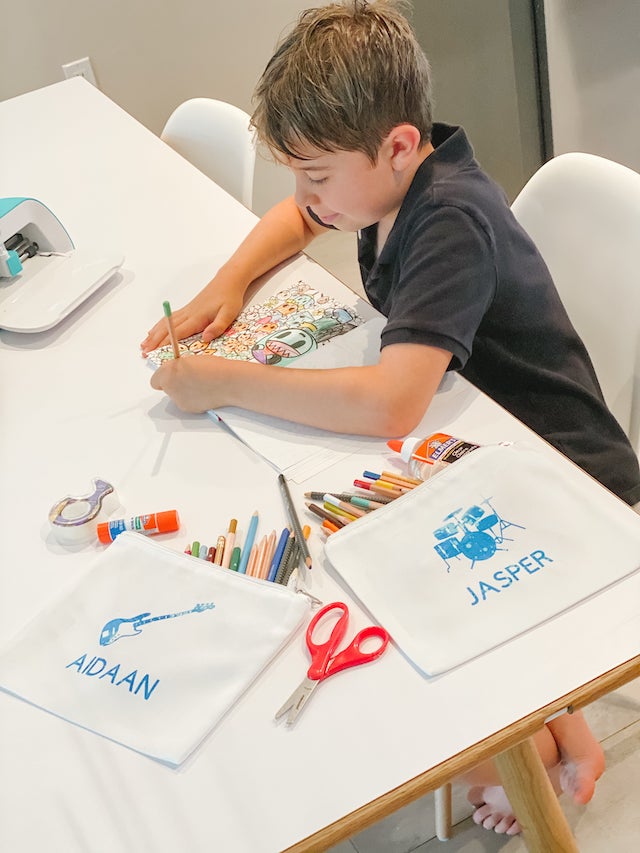
You are done, congrats!
Are you feeling inspired? Visit the Cricut blog inspiration.cricut.com, where you will find weekly home renovation project inspiration and tutorials. Shop Cricut.
Happy Crafting, friends!








15 Comments on “DIY Personalized Pencil and School Supply Bags”
These turned out so great! We love our joy!
What a fun and easy little project! Love this!
Such a neat project with invisible ink! Once I get a cricut I want to try some projects like this! The pencil cases came out amazing!
I love the designs! Cute + Stylish.
These look awesome and so much fun to make
Oooh! This is so cool and the possibilities are endless! I’m thinking about fun Christmas gift crafts!
These cases are really nice, I bet you need a lot of patience to do this.
Those are so cool. those machines are amazing but I think I would still screw it up somehow, The crafts are endless with this machine, so much fun!!
is there anything this machine can’t do? Great job, they look fantastic.
What a great idea. The Cricut is amazing and versatile. I hope your boys love all the things you do for them.
This is such a wonderful idea!
Thank you for the tutorial. Yours turned out well.
I think I’ll try this with my kids since we’re spending more time at home.
Wow, these are wonderful! The project turned out beautifully… I will have to try making these!
Back to school brings the promise of new beginnings, opportunities, and the joy of learning. It’s a time to reconnect with friends, explore fresh ideas, and embrace growth. The energy in classrooms is infectious, sparking curiosity and enthusiasm. Here’s to a vibrant school year filled with discovery, collaboration, and the chance to make lasting memories. Let the journey of knowledge and personal development begin anew!