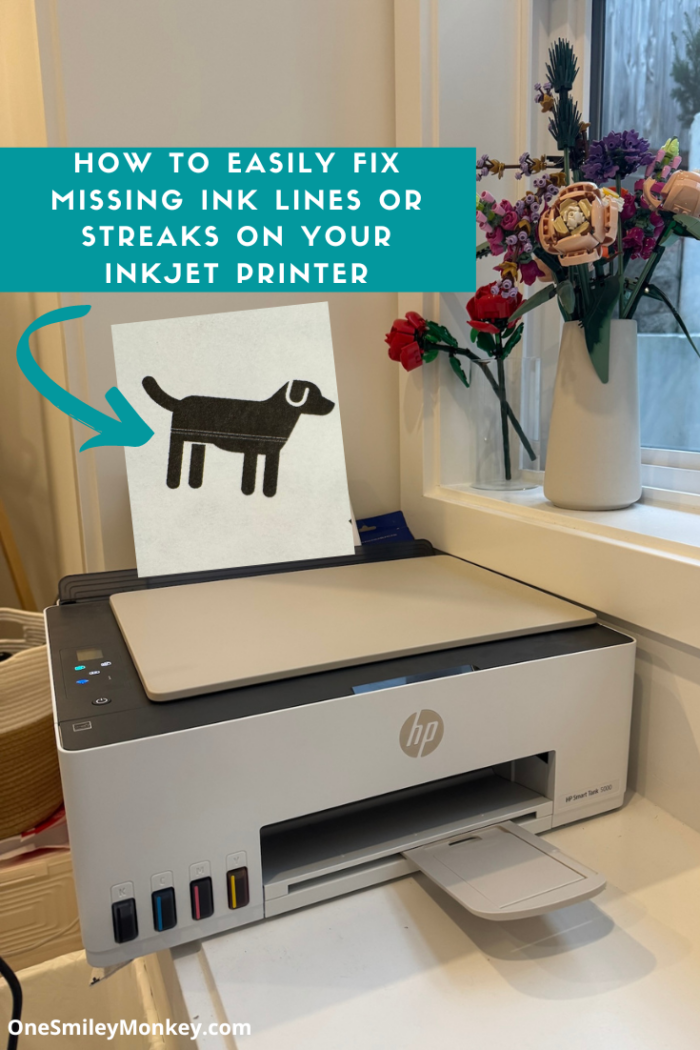
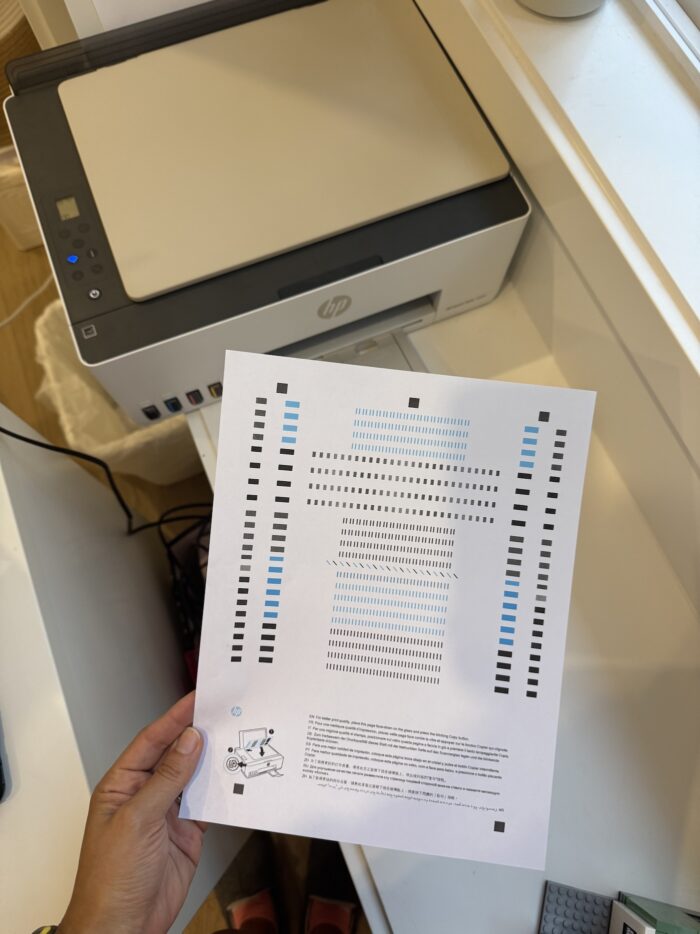
I was helping my son print homework the other day when I realized our 6-month-old Inkjet Printer had a problem. The images were not printing correctly; they were missing some lines and had some streaks in some spots.
I had to do some troubleshooting to fix the issue and finally got it printed correctly again.
In this post, I’ll explain some of the common causes of printer ink lines and provide step-by-step solutions to help you restore your printer’s performance.
Common Causes of Printer Ink Lines
Ink lines or streaks can occur due to several reasons:
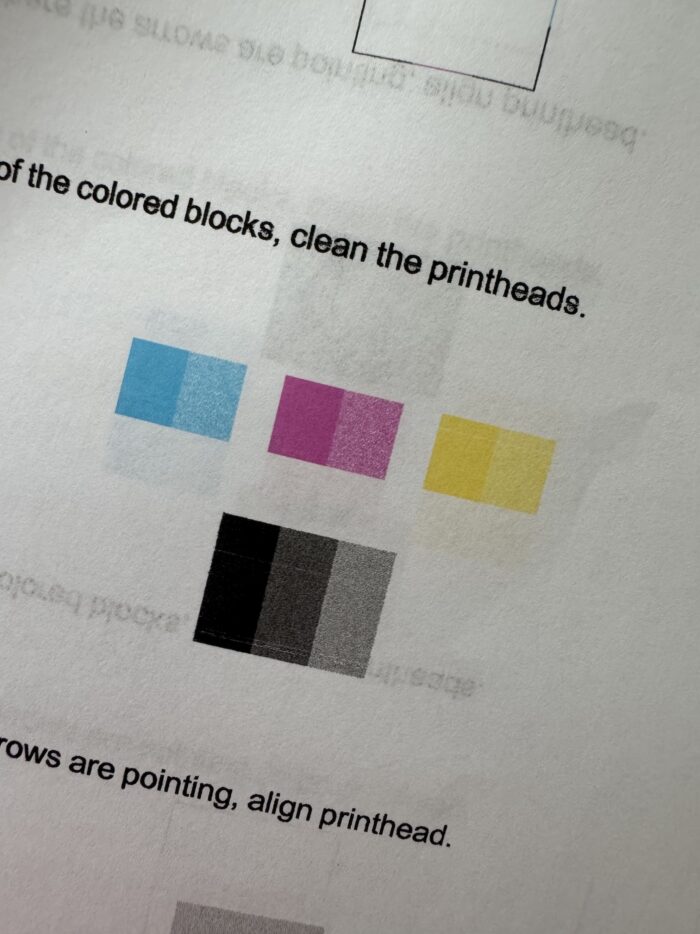
- Clogged or dirty printheads
- Low ink levels
- Misaligned printheads
- Dirty nozzles
- Improper paper type

Lines of missing ink, and smudges.
How to Easily Fix Missing Ink Lines or Streaks on Your Inkjet Printer
Step 1: Run the Printer’s Built-In Cleaning Cycle
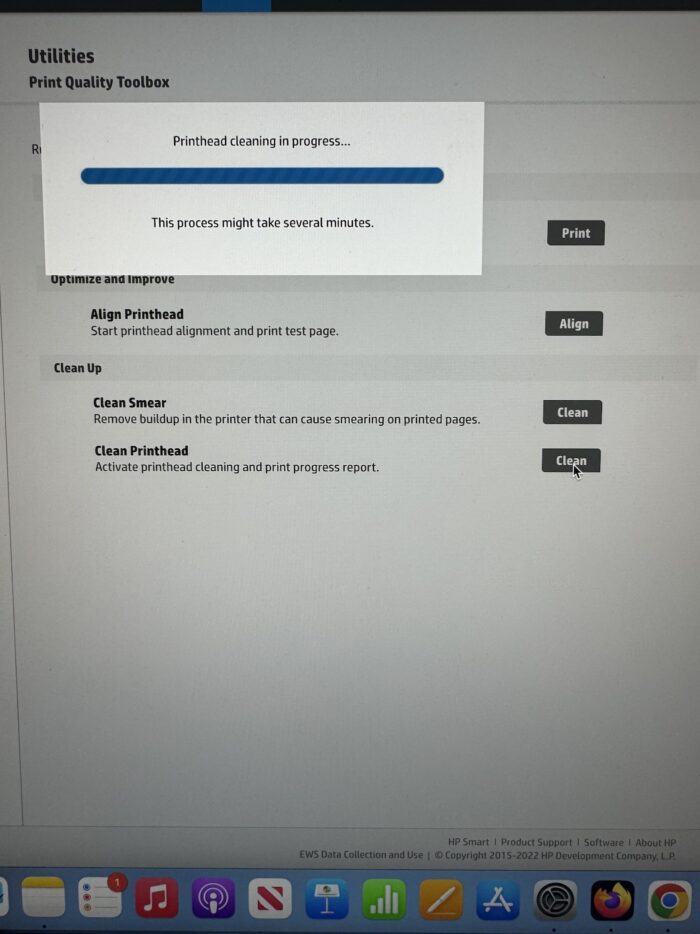
Inkjet printers have a built-in cleaning function that automatically cleans the printheads and nozzles. Over time, these components can become clogged with dried ink, leading to poor-quality prints and streaks.
NOTE: Don’t run more than 2 or 3 regular head cleanings (or one power cycle) in a row without giving the printer a break. Why? Ink dissolves dried-up ink, but it takes a little time. After a cleaning cycle, the wet ink needs time to soften and clear out the clog.
A good approach is to perform a couple of cleaning cycles and then check the nozzles. If they’re still clogged, leave the printer overnight and try again the next day.
Usually, after a few days, the printhead will clear up. Once it’s clean, print a bunch to get the ink flowing again and keep everything moving smoothly.
How to Run a Cleaning Cycle:
- Access the Printer’s Maintenance Menu: This can usually be found in your printer’s control panel or via your computer’s printer settings.
- Select ‘Printhead Cleaning’ or ‘Nozzle Check’: Choose the appropriate option to start the cleaning cycle.
- Test Print: After the cleaning cycle, print a test page to check for improvements.
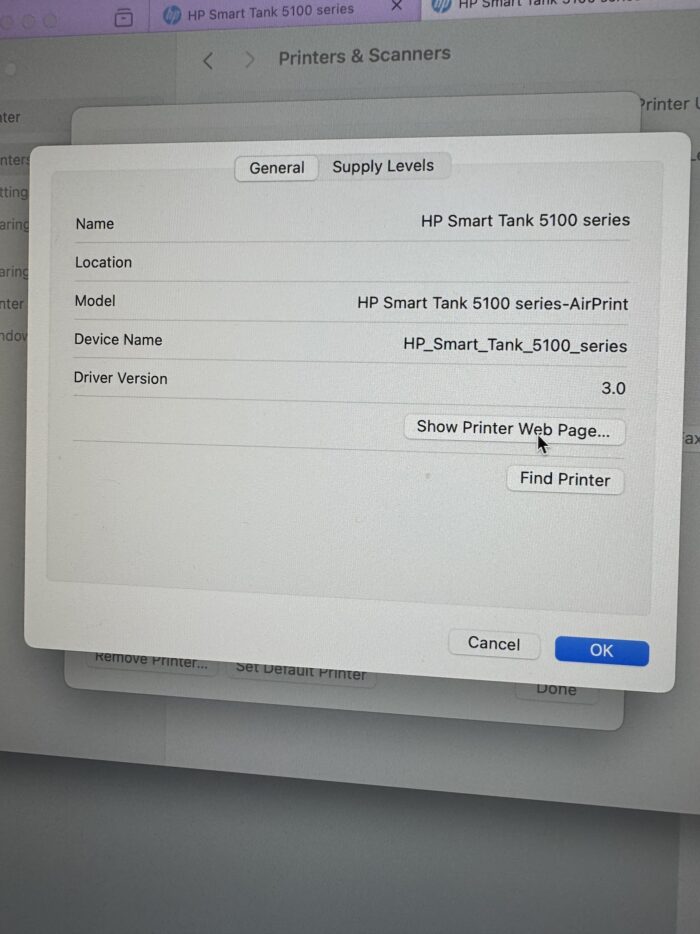
Under Printers & Scanners, you’ll find more information regarding your specific printer.
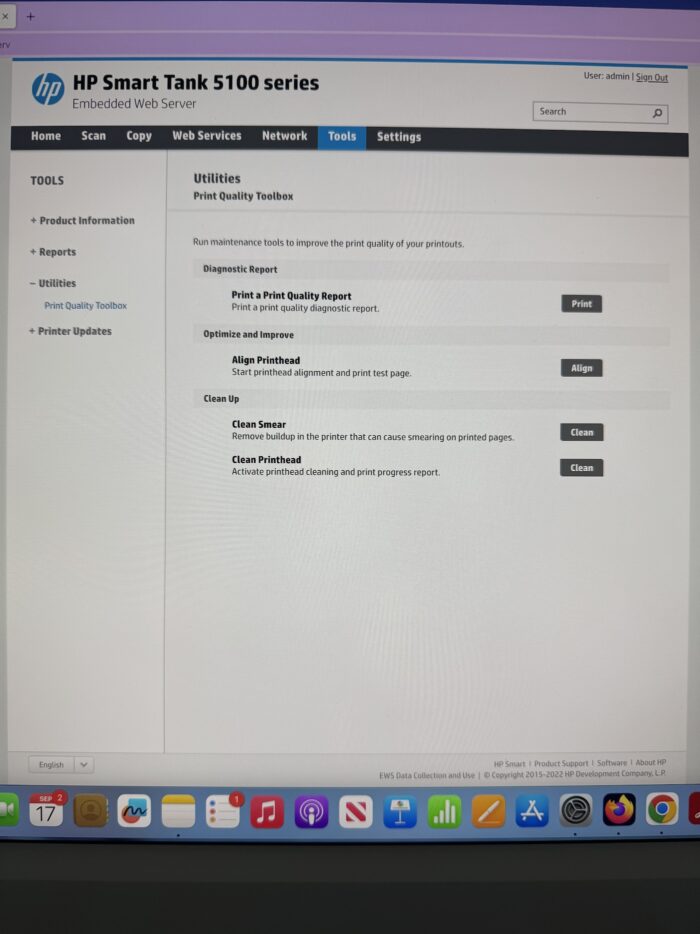
After connecting to the printer, you’ll see the cleaning options.
Step 2: Check Ink Levels and Replace Cartridges if Necessary
Low ink levels can sometimes cause the printer to produce faint or streaky prints. This is especially common when the printer is trying to distribute ink sparingly.
How to Check Ink Levels:
- Printer Display or Software: Most modern inkjet printers have an ink level indicator on their display or through printer management software on your computer.
- Replace Low or Empty Cartridges: If any cartridges are low or empty, replace them with new ones.
Always use the recommended ink for your printer to avoid compatibility issues and maintain print quality.
Step 3: Manually Clean the Printhead
If the automatic cleaning cycle doesn’t fully resolve the issue, you may need to clean the printhead manually. Dried or excess ink on the printhead can obstruct the ink flow, leading to streaks and lines.
How to Manually Clean a Removable Printhead:
- Turn Off the Printer: Ensure the printer is powered off before cleaning.
- Remove the Ink Cartridges: Gently remove the cartridges to access the printhead.
- Remove the Printhead (if possible): Not all printers have removable printheads. If yours does, carefully remove it.
- Clean the Printhead: Soak the printhead in warm (not hot) water for 10-15 minutes or use a lint-free cloth dampened with warm water to wipe the nozzles.
- Let it Dry Completely: Make sure the printhead is fully dry before reinserting it into the printer.
For Non-Removable Printheads:
You can clean the area where the ink cartridges sit using a slightly damp, lint-free cloth. Wipe gently to remove any ink buildup around the nozzles. You can also try vacuuming it carefully to remove any dust stuck in the area.
Step 4: Align the Printheads
Misaligned printheads can result in uneven lines across your prints. Thankfully, inkjet printers often include an option to align the printheads in their settings.
How to Align the Printheads:
- Go to the Printer’s Maintenance or Settings Menu.
- Select ‘Printhead Alignment’: The printer will print an alignment page.
- Follow the On-Screen Instructions: You may need to enter adjustments based on the test page results.
This process ensures the ink is distributed evenly across the page, eliminating streaks caused by misalignment.

Step 5: Use the Correct Paper Type and Quality
Using low-quality or incorrect paper can cause smudging and ink lines, especially when printing high-resolution images or documents.
How to Choose the Right Paper:
- Check the Printer’s Manual: Refer to the recommended paper types for your printer.
- Match Paper Settings to Paper Type: When printing, make sure to select the correct paper type in the print settings (e.g., plain paper, photo paper, etc.).
- Avoid Using Damaged or Old Paper: Wrinkled or moist paper can affect print quality and lead to streaks.
Step 6: Update Your Printer Drivers
Outdated printer drivers can also cause poor print quality, as they may not communicate correctly with your operating system. Regularly updating your printer drivers ensures smooth operation.
How to Update Printer Drivers:
- Visit the Manufacturer’s Website: Go to the support section and download the latest driver for your printer model.
- Install the Driver: Follow the installation instructions, which typically involve running a setup file.
Keeping drivers updated can prevent issues and may even improve print quality.
Printer ink lines are a frustrating problem, but with these simple steps, you can often fix the issue at home without professional help.
Whether cleaning the printhead, replacing ink cartridges, or updating the software, maintaining your inkjet printer ensures long-term, high-quality, streak-free prints.
I highly recommend you use your printer consistently, at least once per week, to keep it happy and avoid the ink from drying up and causing unwanted clogs.
If you continue to experience issues after following these steps, it may be worth contacting the printer manufacturer’s support or taking your printer to a professional for further diagnostics.


10 Comments on “How to Easily Fix Missing Ink Lines or Streaks on Your Inkjet Printer”
Very informative thank you. I must give this a try.
Thanks for troubleshooting this and sharing your findings!
Good to know, thanks for sharing!
Such a common mistake I always come across; glad I now have a fix!
Awesome, I like that the steps are easy to follow.
Thanks for sharing.
this is sooooo cool. thank you for sharing
I will try these tips next time it happens.
Great tips! I will bookmark these if I have this problem with my inkjet printer
Great info to have on hand in case an issue like this arises.